You may sometimes encounter a challenge when trying to print PPT files. The main issue is usually that the formatting is not retained when printed. Also if you transfer PPT files from one computer to another, the document can become distorted in the process; graphics may disappear, the text might shift position, and in extreme cases, sometimes text completely vanishes. This is why converting the file to PDF format may be beneficial. Fortunately, conversion is simple if you’ve learned how to convert PPT to PDF with the right tools. Below are 6 easy ways to perform PPT to PDF conversion, including with PDFelement Pro.
You can also use PDFelement Pro not just to create PDFs from PPTs but also to edit PDF documents the same way you would using a word processor. You can use this tool to complete many tasks like inserting, deleting, rotating, splitting, cropping, adding watermarks, and more to your document as you see fit.
After downloading the program on your Windows PC, double click the program file to open the installation wizard. Follow the onscreen instructions to install the program. After that, launch the program.

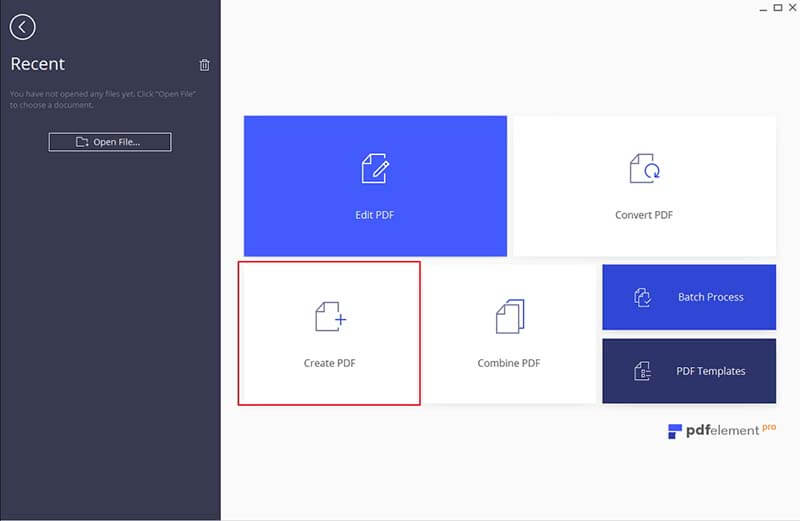
Choose the "Create PDF" option on the main menu, select your PowerPoint document, then click the "Open" Button. You can change the file as needed using the multiple editing tools available on the interface.
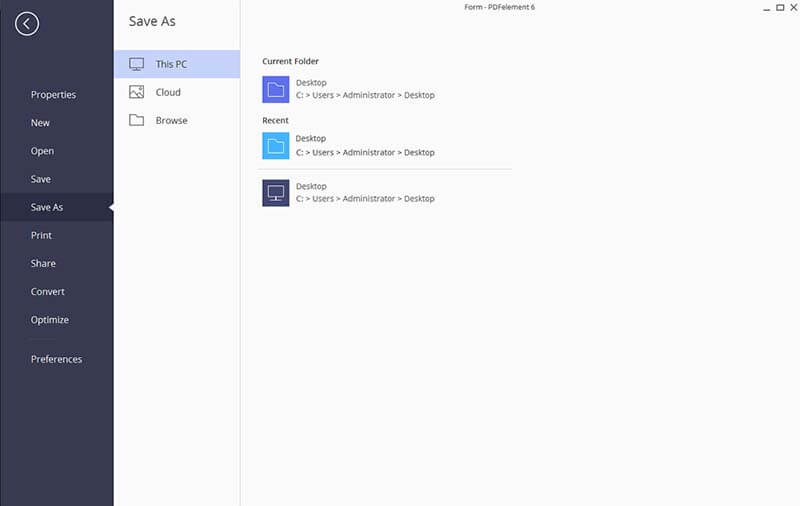
Go to "File" on the top left side of the interface. Click the "Save as" button and specify the location you want to save your new PDF document to.
PDFelement Pro provides an easy way to convert PPT to PDF. You can also create PDF files from other file formats. Apart from this, you can also convert PDF files to PPT, Word, Excel and other popular file formats with ease. This PDF creator comes with multiple PDF editing tools and advanced OCR tools that allow you to edit scanned files easily as well.
Key Features of this PPT to PDF Converter:

There are many tools out there that let you convert PPT to PDF for free; however, most of them have some drawbacks. For instance, some utility functions might not respond, or won’t able to handle complex files. Among the few that will help you convert PPT to PDF with no hassle whatsoever is iSkysoft PDF Creator for Mac. It allows you to convert any file to PDF easily, without compromising the quality of the document. The moment you have this software on your Mac, you won’t need to pre-install MS office to create any PDF files. Unlike other tools of its kind, it allows you to convert files in batches while retaining the original format of the document or documents and keeping the high resolution in check.
Download this PDF creator for Mac. Install it by dragging it to the application folder. After that launch the program.

Now in the main interface of the program, click the "Add Files" button to select the PowerPoint files from your local folder and import them into the program. You can also click the "Add Folder" to import a folder with PPT files to the program.

You can directly click the "Create" button to start the conversion. When complete, click the "Show in Finder" button to find the output files.

With Powerpoint 2010, you can also convert from PPT to PDF format pretty quickly.
Step 1: Click on the "File" tab located on the left side of the screen.
Step 2: Click the "Save as" button and choose the location and folder you want to save your converted file to.
Step 3: After naming your file, select the PDF in the "Save as" list.
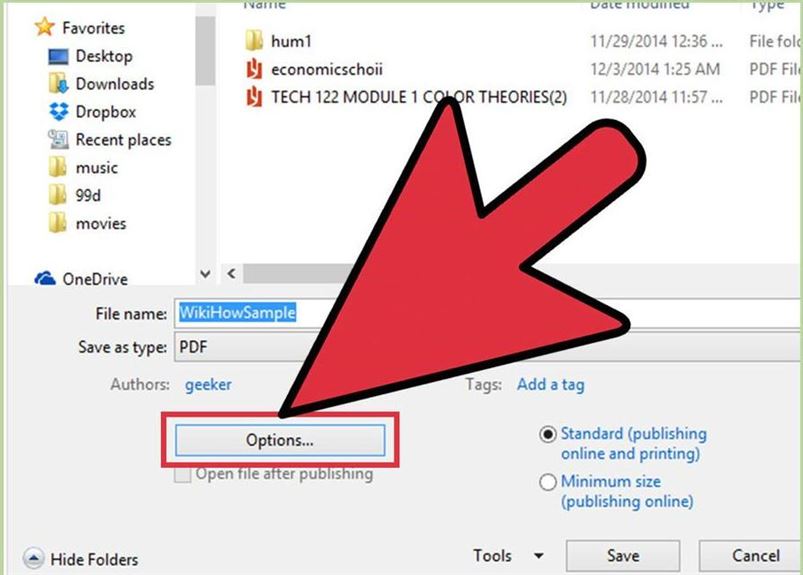
Step 4: Click on "Option" then OK.
If you have PowerPoint 2007, follow the steps below to convert PPT into PDF.
Step 1: Click on the "Office" button, located in the left corner of your PowerPoint screen. A menu will appear.
Step 2: Hove your mouse at "Save as" until you get the pop–up menu.
Step 2: Click on "Save as" until a pop–up menu appears.
Step 4: In the "Save as" type list, click PDF.
Step 5: If you have installed a PDF reader, then open the PDF after saving it by checking the 'open file after publishing’ box. You can also optimize (standard or maximum) the file if you want to by saving the file in the most suitable format for you needs.
Step 6: Click on “options” to select the page you want print or choose the output location, and then click save. Your document will now be converted to PDF and ready for printing.
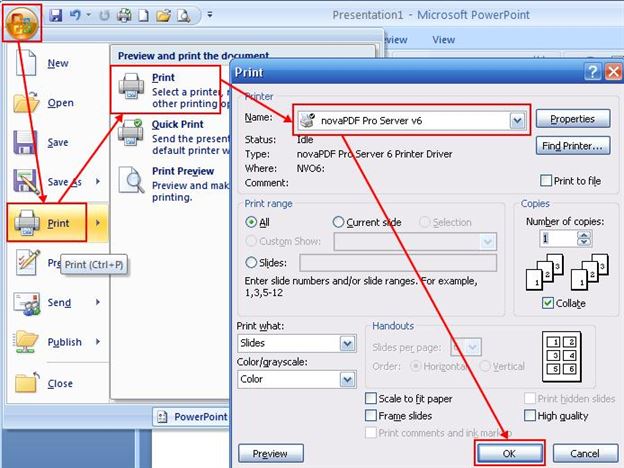
Step 1: Click file, then "Save as."
Step 2: Enter the name of your file, and set the location you want your file to save to.
Step 3: Select "PDF" as your output type using the format menu in the save dialog. When finished click "OK".
Step 4: Click "Save" to complete the PPT to PDF conversion.
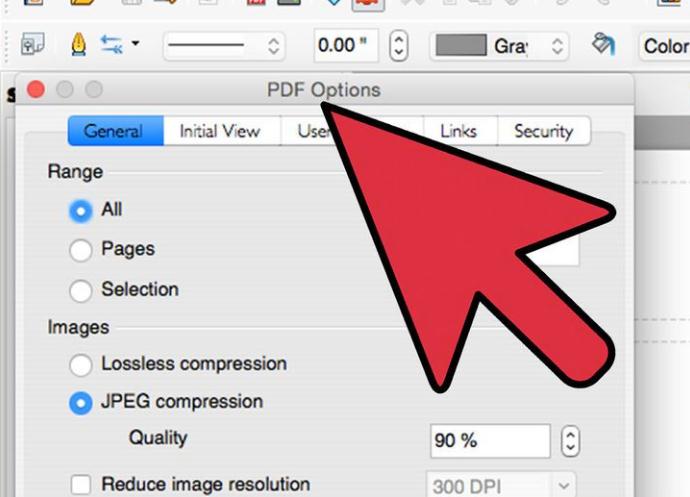
The Direct print can also help convert PPT to PDF.
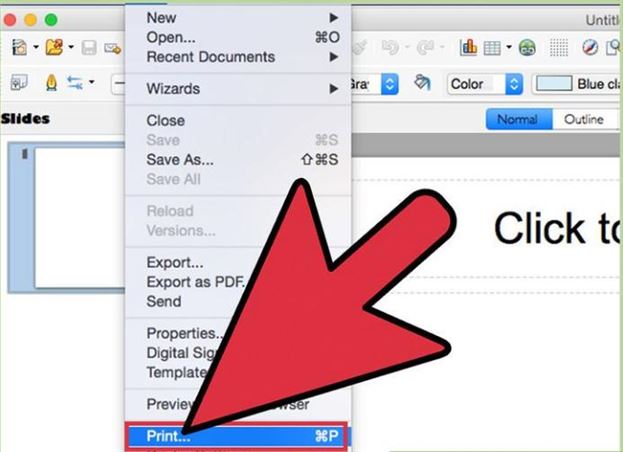
Step 1: On the PPT file menu, select the “Print" icon.
Step 2: At the bottom of the Print dialog box, click on the "Save As" button, then select "Save as PDF".
Step 3: You will need to name your file as well as choose an output location.
Step 4: Click "Save" and that’s it; your PDF document should be saved at the location you selected.
