"Is there an easy way to add images to a PDF file?"
At times, you may need to insert images into a PDF file. You can try using Mac Preview, but it comes with limitations. Luckily, this article covers how to add image to PDF on Mac with PDFelement Pro (macOS Mojave included). We’ll also cover how to combine multiple images into one PDF file. Let’s get started!
PDFelement Pro is the highly recommended way to help you to add images to PDF on Mac. You can use the "Add Image" button to import and place multiple images in your PDF files. You can also edit the images as needed. Follow the below steps to insert an image into a PDF document.
The steps for adding images to a PDF file on Mac (including macOS 10.14 Mojave) are simple. Windows users can download PDFelement Pro and follow the same steps as well.
First launch PDFelement Pro for Mac. In the main interface, you can click on the "Open File" button to import your local PDF file. Your file will automatically be opened with the program.

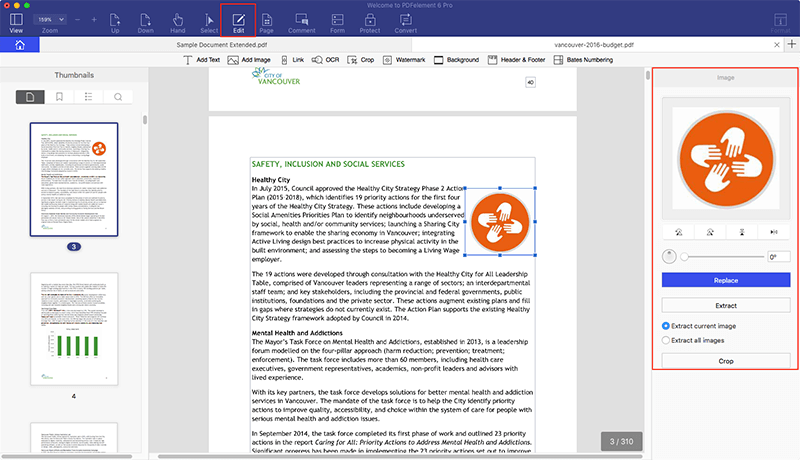
Now click on the "Edit" tab, and you will see the PDF editing tools. Click on the "Add Image" button, and then click anywhere on your PDF file and select the image from your local folder to insert it to the PDF file.

After adding images to your PDF file, you can edit and modify the images as needed. Click on the image to open the image editing control panel. From here, you can rotate, replace, extract, and crop images.
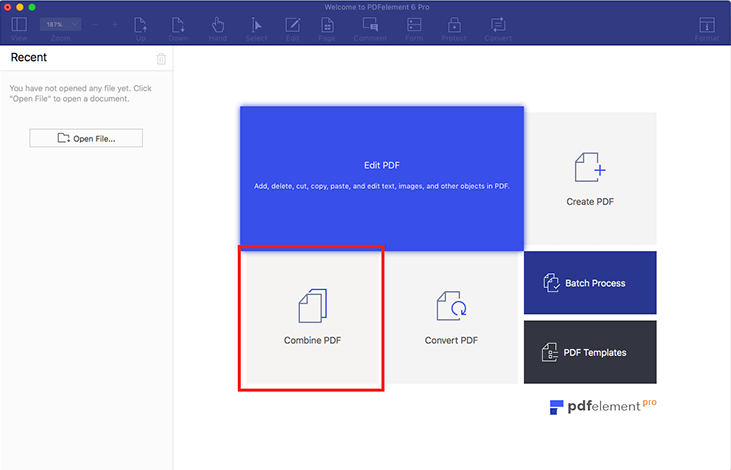
You can also add and combine multiple images into one PDF file. In the main interface, click on the "Combine PDF" tab to open the combination window.
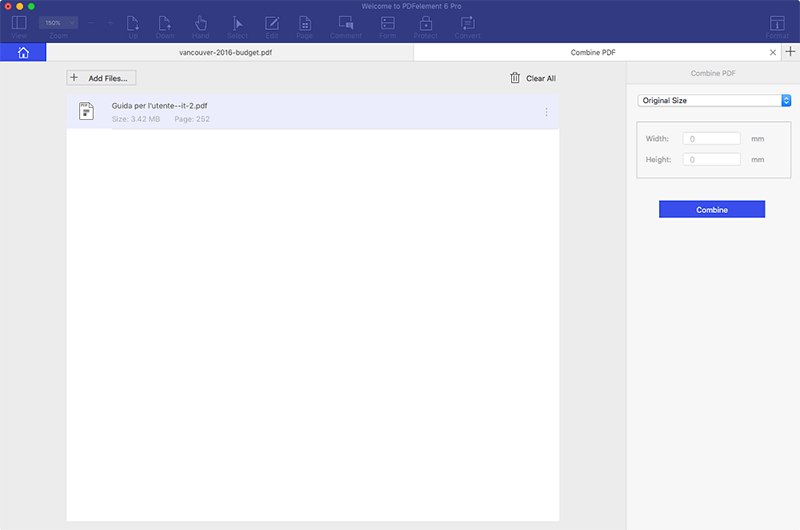
Click on "Add Files" to import multiple images. When you click on the "Combine" button, all images will be combined into one PDF file. Lastly, go to "File" > "Save As" to save the PDF file.
PDFelement Pro is a highly recommended program to help you add images to your PDFs. It has powerful PDF editing tools, giving you complete control over your PDF file. You can insert one or multiple images into a PDF file and retain their high quality. And you can crop or extract the images from PDF for other uses as well.
Key feature of this PDF editor:

Adobe Acrobat is a PDF editor, viewer and creator. It is considered a leading industry standard software that can efficiently add images to PDF. It also allows for editing and managing PDF documents, extracting PDF data, and more. If you are wondering how to add an image to PDF, luckily it is quite easy with Adobe Acrobat. Just follow the steps below to get started inserting an image into PDF.
How to use Adobe Acrobat to add an Image to PDF:
Step 1. Launch Adobe Acrobat Pro. Then upload the PDF file that you want to add an image to.
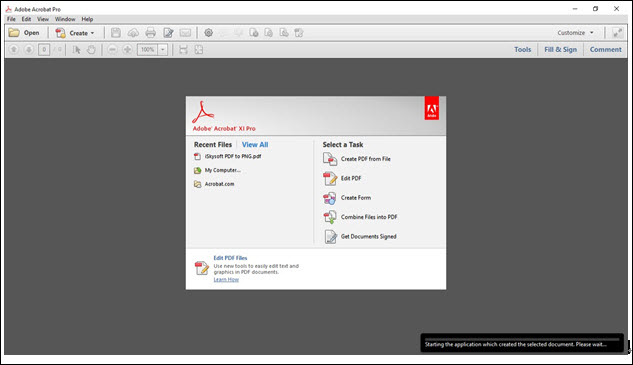
Step 2. On right-hand side of the software, click on "Content Editing" to find a list of options or tools to insert images to PDF.
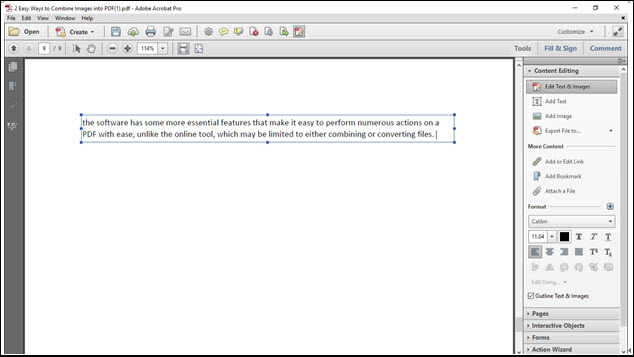
Step 3. Under "Content Editing" select the "Edit Text & Images" tool. You will need to create space for the image to be added to.
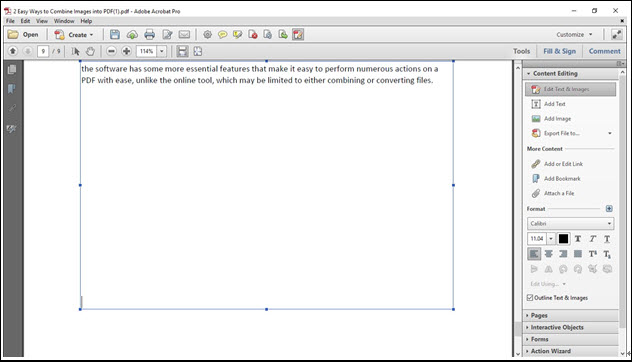
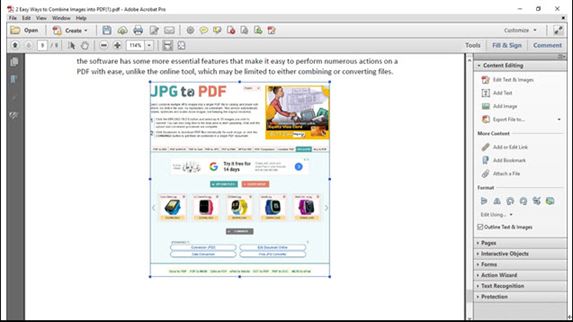
Step 4. After creating the spaces, use the "Add Images" option to insert the image into the PDF. You may then proceed to save your PDF.
Pros and Cons of Adding Images to PDF using Adobe:
Pros:
Cons:
You can also use online programs to add an image to a PDF document. PDFFiller is an online tool that will help you do this with ease. This method is quite easy and is suitable for those not wishing to download a software, or if users only need to add images to their PDF on a one-time basis. Use the online tool PDF Filler to add an image to your PDF easily for free.
How to Add an Image to your PDF online:
Step 1. Visit the site and upload the PDF file that you want to add an image to.

Step 2. Use the "Picture" icon to find the images you wish to upload. You may either upload saved images or take an instant, on-the-spot webcam image.

Step 3. Before uploading the image, you may opt to adjust a couple of settings such as the background, hue or size, then click the "Upload" button to insert the image.
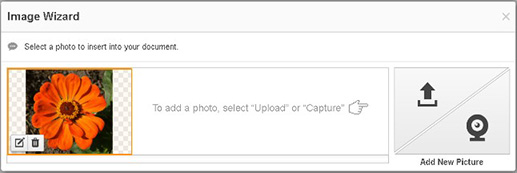
Step 4. When inserting the image into the PDF document, a mini-toolbar appears for fitting and resizing the image in the document. Then save the file.
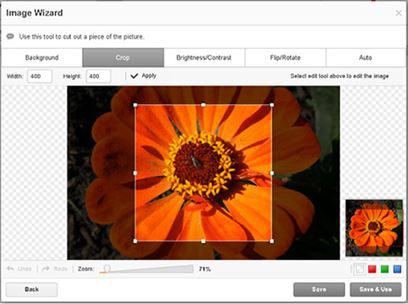
Pros and cons of adding an image to PDFs using a free online tool:
Pros:
Cons:
Preview is the default software on Mac systems for viewing images and PDF documents. The software also has some functions for editing PDFs or images. It has the ability to encrypt PDFs as well as crop, fit and resize images. It can even change the brightness and contrast of images. To add an image to PDF on Mac, follow this very simple process.
How to Add an Image to PDF using Preview:
Step 1. Launch the software on Mac and insert the PDF document.
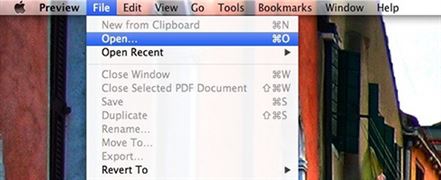
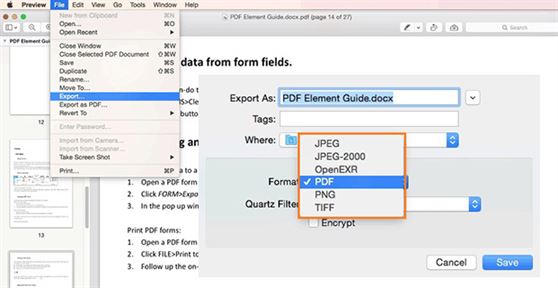
Step 2. Change the PDF document to an image file format and save the image. Preferably to PNG format. To do this, go to Path> File Menu> click on Export. Under Export, define the name of the file and choose image format eg. JPEG or PNG>before saving it.
Step 3. Open the saved PDF as an image and copy it. Now, open the desired image that you wish to add on a PDF through Preview. Use the ctrl+A command to copy the image. Then open the recently converted "PDF to PNG" image through Preview. After that, you simply paste the copied image to the converted PNG image page on Preview. Finally, adjust the image size

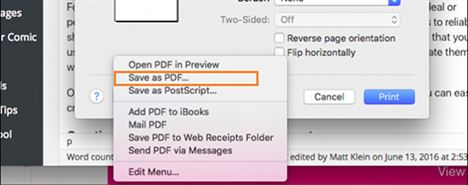
Step 4. Save the PDF document which is now an edited PNG image as PDF again and the image will be inserted.
Pros and Cons of Inserting an Image into PDF using Preview:
Pros:
Cons:
Conclusion: Whether you wish to add an image to PDF on android, Windows, or Mac, you’ll have all the tools you need using the programs above. These are the best methods to assist you when adding images to PDF.