"I have a scanned PDF file, which has a table with about 200 numbers. I need to take out all these numbers. Is there any way for me to extract the numbers into a single file?"
As we all know, scanned PDF also known as image PDF comprises series of images that have been merged together to form a single document for reading and sharing. To extract texts from a scanned PDF, we need to convert the file to an editable format by using a PDF conversion tool with OCR feature. Here are the best two ways to do so.
- Method 1. Convert OCR PDF to Excel on Mac (macOS 10.13 High Sierra)
- Method 2. Convert OCR PDF to Excel on Mac Using iSkysoft PDF Converter
Method 1. Convert OCR PDF to Excel on Mac (macOS High Sierra) with iSkysoft PDF Editor 6 Pro
For many cases, you might need to edit the scanned PDF before converting. If so, you can use iSkysoft PDF Editor 6 Professinal for Mac (or PDF Editor 6 Professional for Windows) as the OCR PDF editor and converter. With the help of this PDF editor tool, you can easily OCR scanned PDF documents and convert an OCR PDF to Excel easily.
Steps to Convert Scanned PDF to Excel
Below are the detailed steps for converting scanned PDF to Excel for further editing on Mac OS X (including macOS 10.13 High Sierra).
Step 1. Import your PDF File into the Program
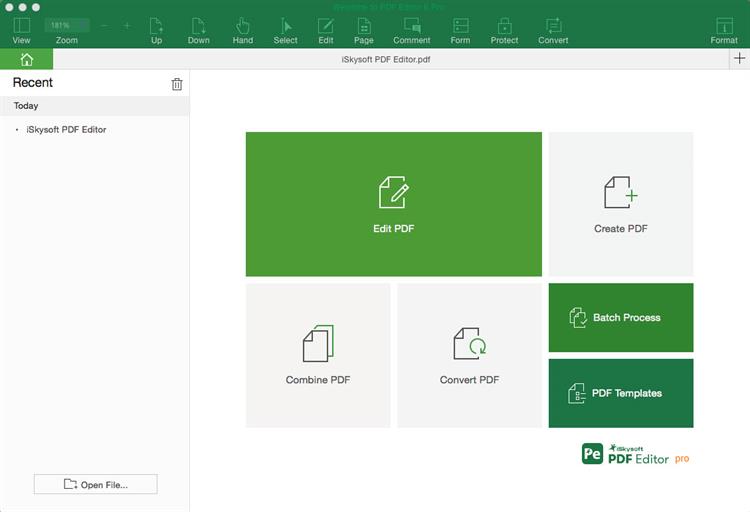
When the download and installation have been complete, you can click the "Open File" button to load you PDF. Select the file you need from local folder and then click Open to confirm your choice.
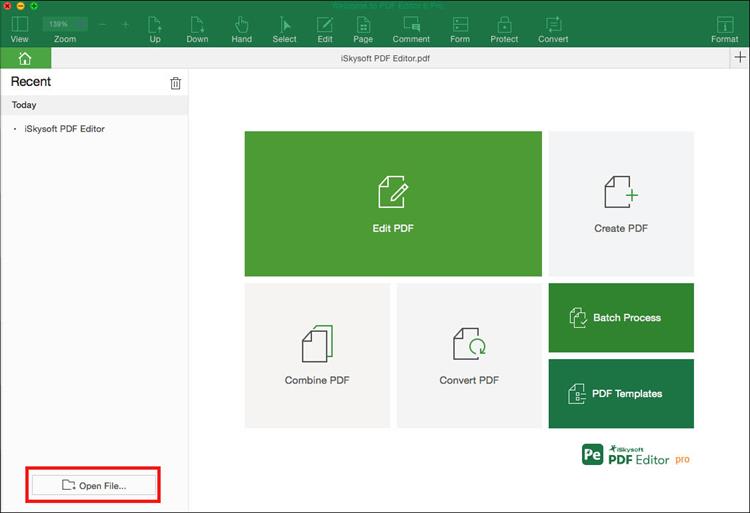
Step 2. Convert PDF to Excel with OCR
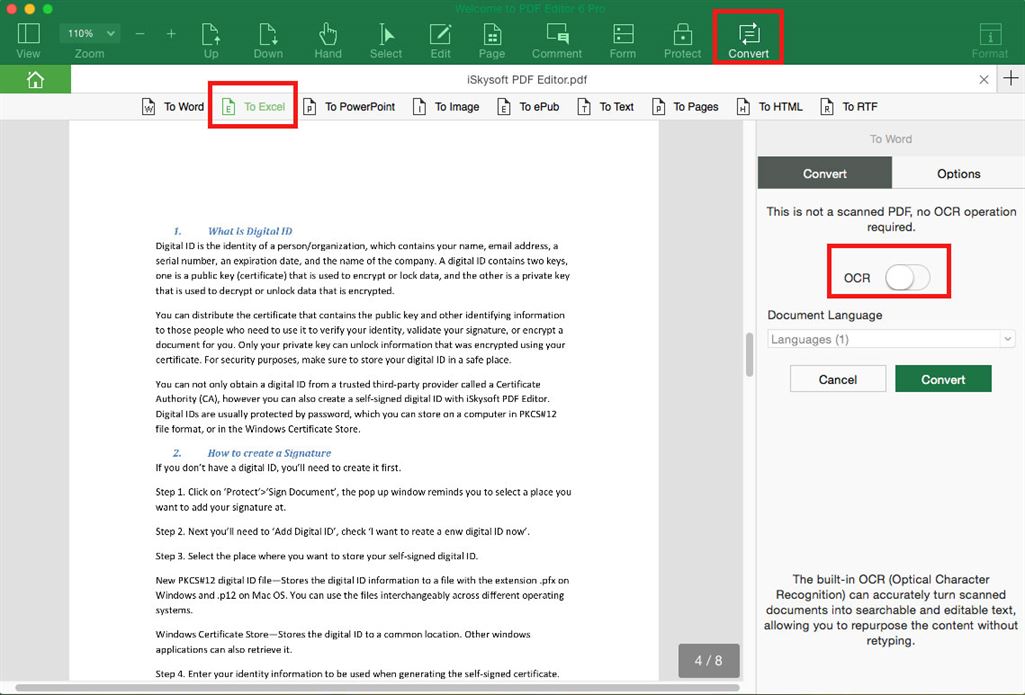
Then you need to click on the "Convert" button and select the option "To Excel". Then you can enable the OCR on the right side toolbar of the main interface. Then click on the "Convert" button to start PDF to Excel OCR conversion.
Why Choose iSkysoft PDF Editor 6 Professional for Mac as The Best OCR Tool
iSkysoft PDF Editor 6 Professinal for Mac (or PDF Editor 6 Professional for Windows) is a powerful PDF tool that allos you to edit, add, or delate texts, links, images, and other elements in scanned PDF. And you even can convert the scanned PDF to Excel, Word, PPT, and other formats.
Why choose this PDF editor:
- Edit native and scanned PDF with various editing tools.
- Convert OCR PDF to Excel, Word, PPT, HTML, and more.
- Quickly stamp and add signature or watermark to PDF.
- Create PDF from existing PDF, webpages, HTML, images, etc.
- Easily annotate, mark up or add comment on PDF documents.
- Come with industry-leading OCR feature and multiple OCR languages.
Method 2. Convert OCR PDF to Excel on Mac Using iSkysoft PDF Converter
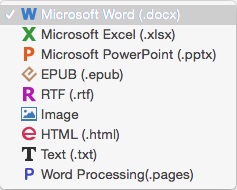
The outstanding OCR tool I highly recommend you to use is iSkysoft PDF Converter Pro for Mac (Or iSkysoft PDF Converter Pro for Windows). This PDF to Excel OCR converter comes with industry-leading OCR technology. And it provides you with multiple output formats like Word, PPT, EPUB, HTML, Plain Text, thus maximum satisfies your overall work requirements. What’s more, you can select different OCR recognition languages such as English, Italian, Spanish, German, French, etc.
Steps to Convert OCR PDF files to Excel
Step 1. Download and Install the PDF Tool
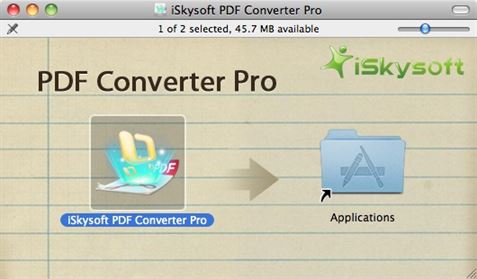
Click above "Download" button to download the OCR PDF to Excel free converter. After that, double click the program file to open the installation menu and follow up prompts to finish installing it on your computer. When you're done, drag and drop the converter icon to the "Application".
Step 2. Import OCR PDF to the Program
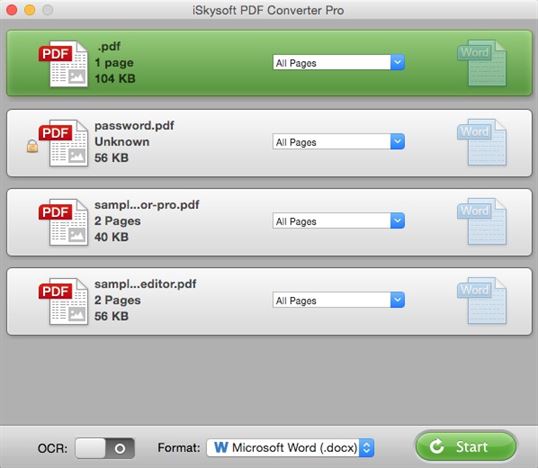
Launch the program and navigate to the main interface, then click the "File" menu and select the "Add PDF Files" option to import the OCR PDF file. Alternatively, you can open the folder where you have saved the PDF files, then directly drag and drop the file to the program.
Note: This PDF to Excel OCR converter supports batch conversion. So you can import multiple OCR PDF files and convert them at a time.
Step 3. Process the OCR Settings
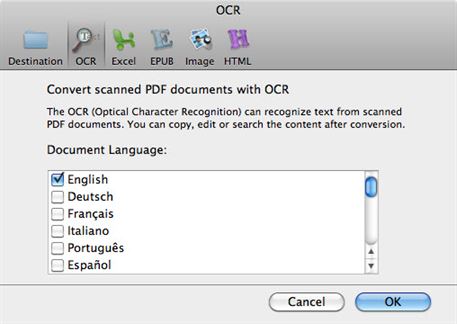
Now check the "Convert scanned PDF documents with OCR" option at the bottom toolbar to enable the OCR function. And go to "PDF Converter Pro">"Preferences", then you will get a pop-up window. Now click "OCR" and select the language you want.
Step 4. Start the Conversion
Then go back to the file list and click on the file, you will get a gear icon appears on the right side of the file thumbnail. Click on the icon to show the dialog for selecting output format. You can just select “Excel Workbook (.xlsx)”as output format. Then customize the page range you want and click “OK” to start converting the file to Excel.
When you get the output file, you can easily edit or copy the numbers in the converted file. Just try it out.
