How to Open PDF
 How to View PDF
 How to Edit PDF
-
Edit PDF Texts
Edit PDF Images
Edit PDF Pages
PDF Watermarks
Change PDF Background
PDF Header & Footer
PDF Bates Numbering

 How to Markup PDF
-
Markup and Annotate PDF
Stamp and Sign PDF

 How to OCR PDF
 PDF Forms
-
Fill in PDF Forms
Create PDF Forms
Extract Data
Import/Export/Clear Form Data

 How to Protect PDF
-
Password & Permission
Redact PDF Forms

 How to Convert PDF
 How to Create PDF
 How to Manage PDF
 -
Optimize PDF
Print PDF
Share PDF
How to Edit PDF Images
It is easy to edit images in PDF with iSkysoft PDF Editor 6 Professional for Mac. With it, you can add, delete, rotate, crop and extract images in PDF.
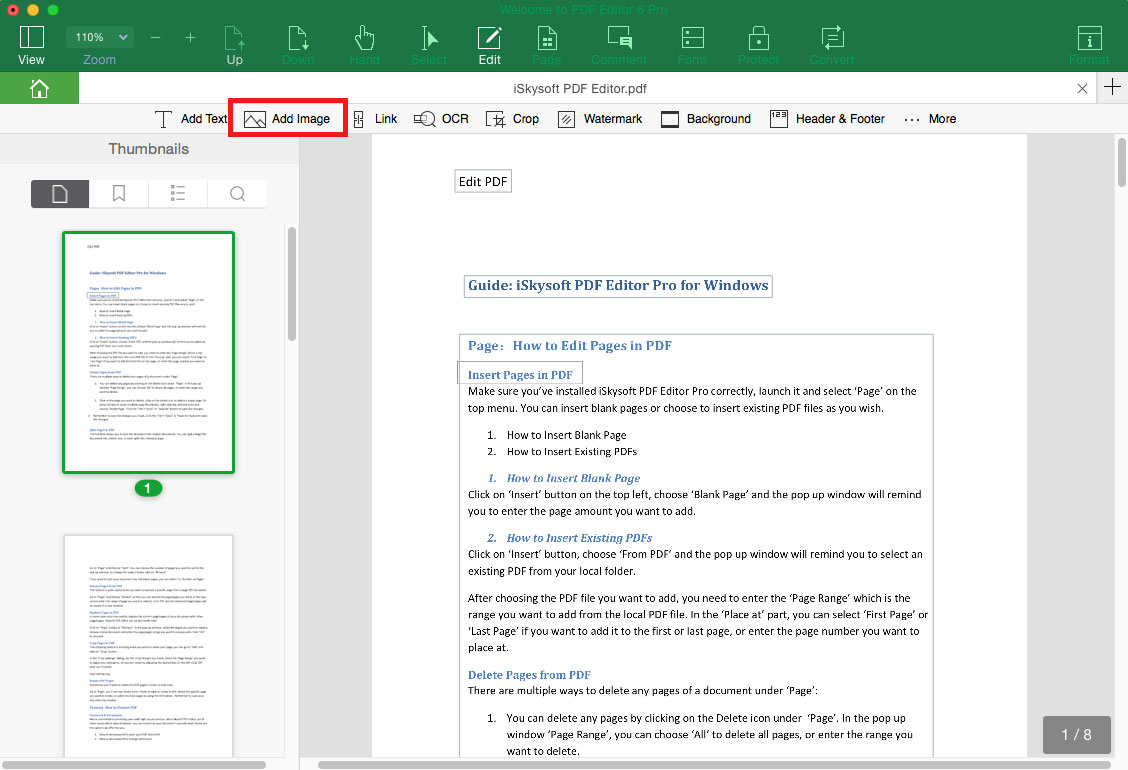
1Add Image
You can add images in jpg, jpeg, bmp, png, tiff, and tif format to PDF. Click the "Edit" menu and click "Add Image" button, and then select the image from your local folder to insert it to the PDF directly.
You are able to resize the image by clicking and dragging the edge of the image box. And you can click and drag the image to move it to the place you want in the PDF file.
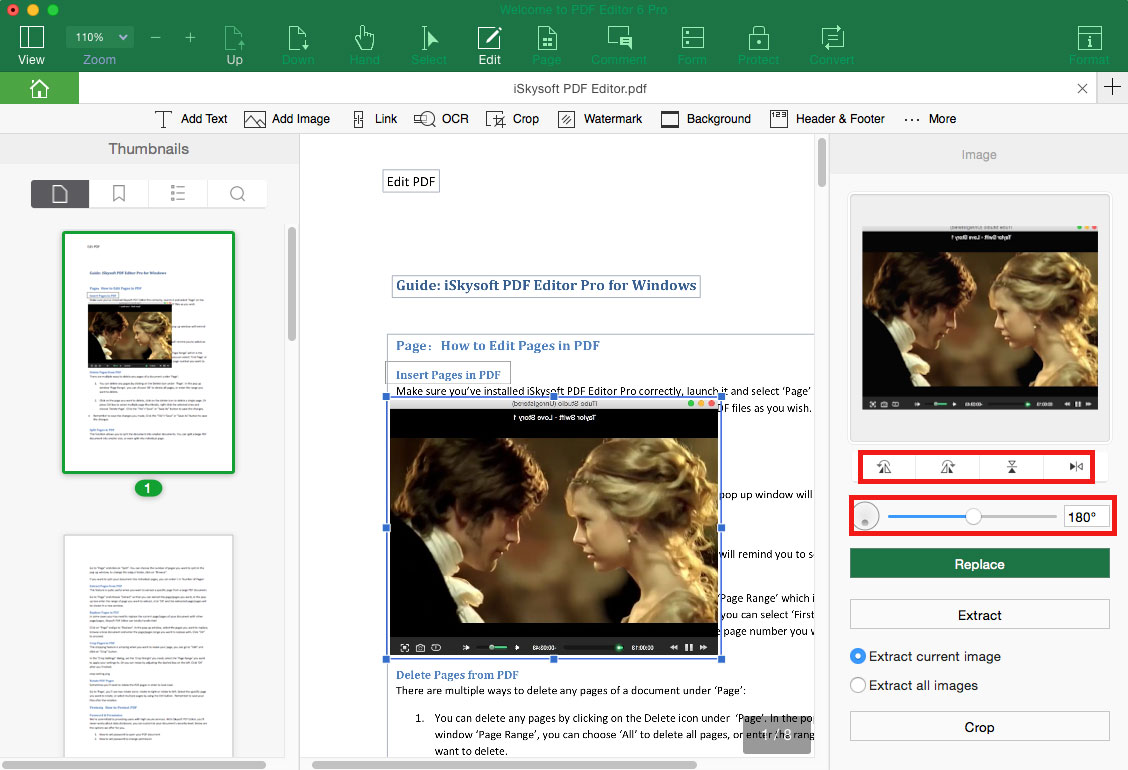
2Rotate Image
Click on the "Edit" button and click on the desired image in the PDF. You will open the image editing panel on the right side of the program interface. And you can rotate the image to the degree you want.
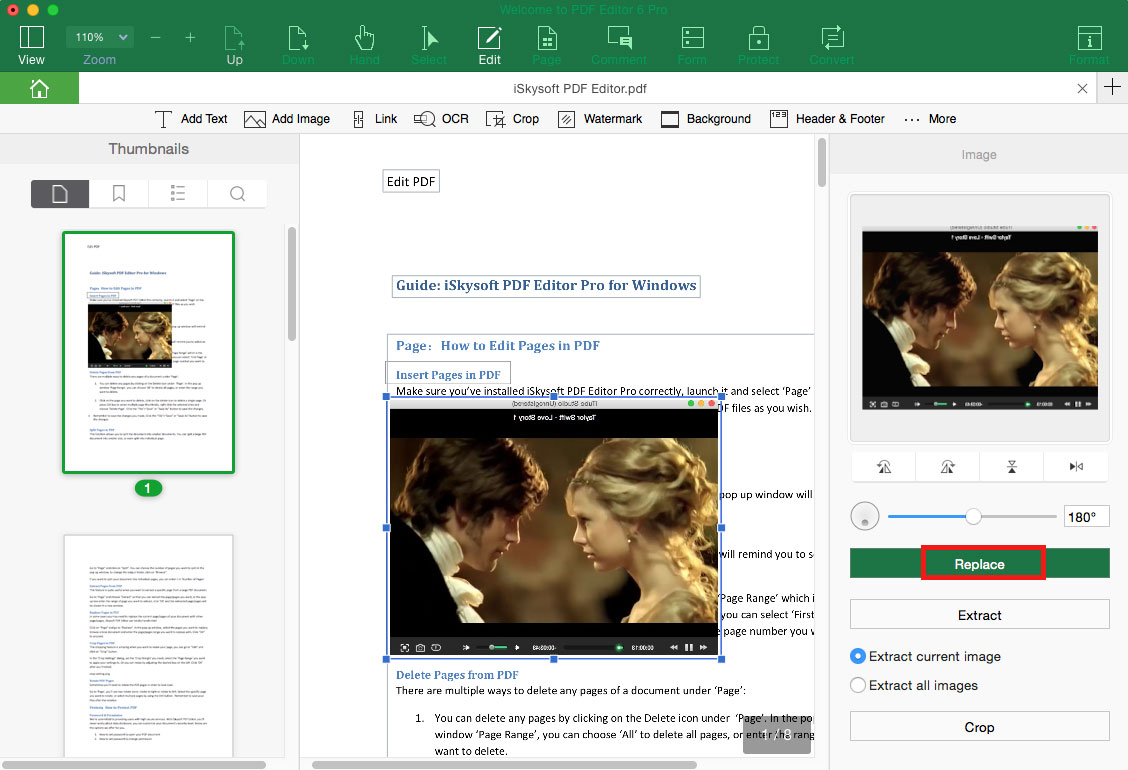
3Replace Image
To replace the image in PDF, first click on the "Edit" menu and click on the image in the PDF. And navigate to the right size of the image editing panel and click “Replace” to choose an image to replace the original one.
4Extract Image
You can extract images from a PDF file. To do so, hit "Edit" menu and click on the image, and on the right side of the image editing panel, click "Extract" to select a local folder to save the extracted image.

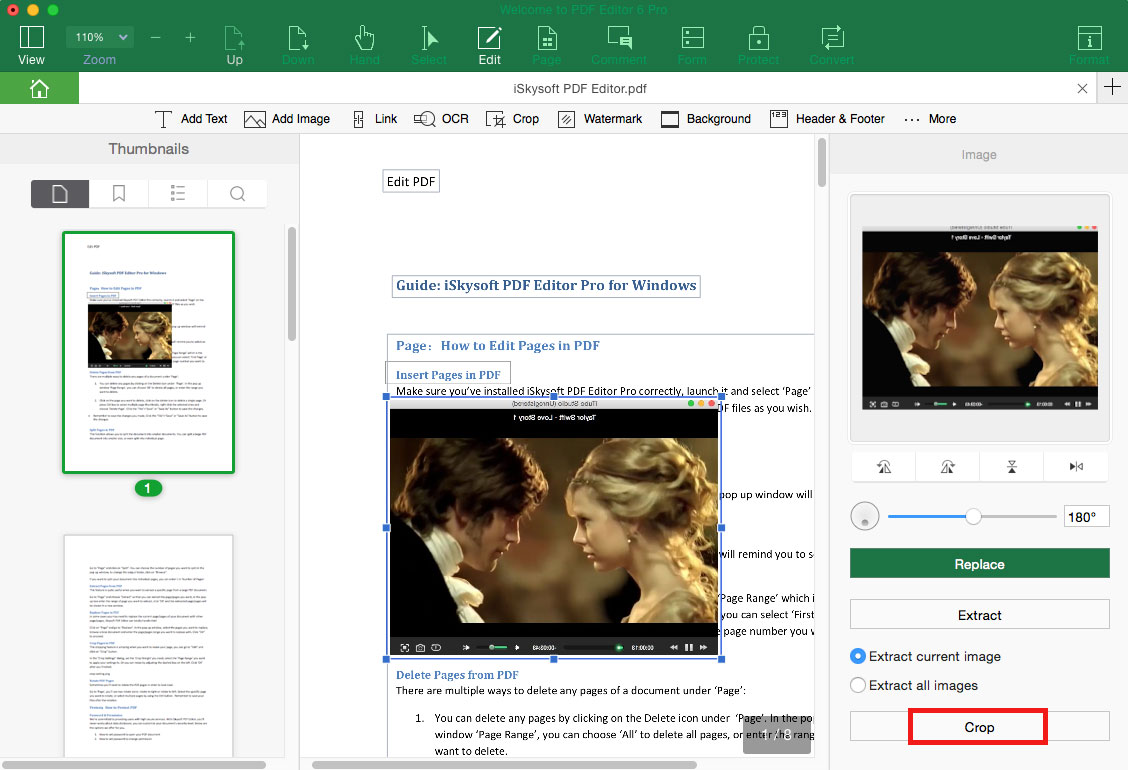
5Crop Image
To crop image in PDF, click on the "Edit" menu and go to the right side of the image editing panel to click "Crop". And then drag the mouse to crop the image to the size you want.