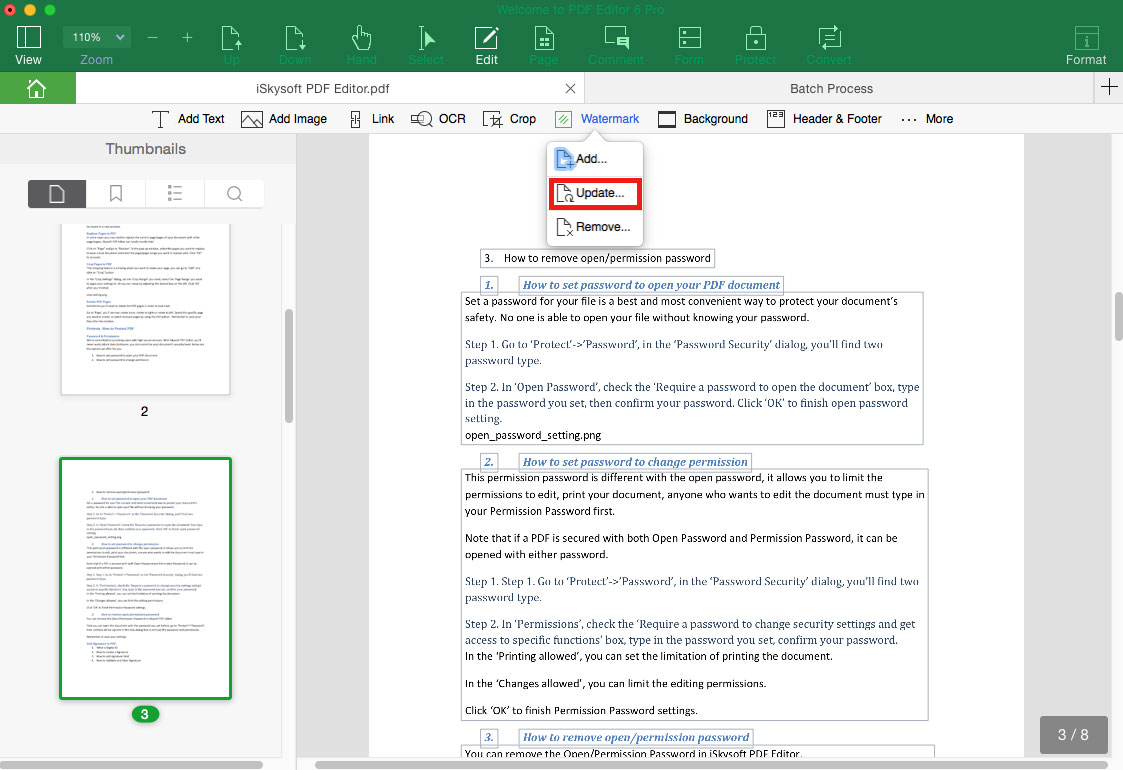
PDF Watermarks
iSkysoft PDF Editor 6 Professional for Mac can help you to add, update and remove watermark in PDF easily.
1Add Watermark to PDF
After you open the PDF file, click the "Watermark" under the "Edit" menu. Select the "Add" option, and you will open the "Add Watermark" panel on the right side of the program interface.
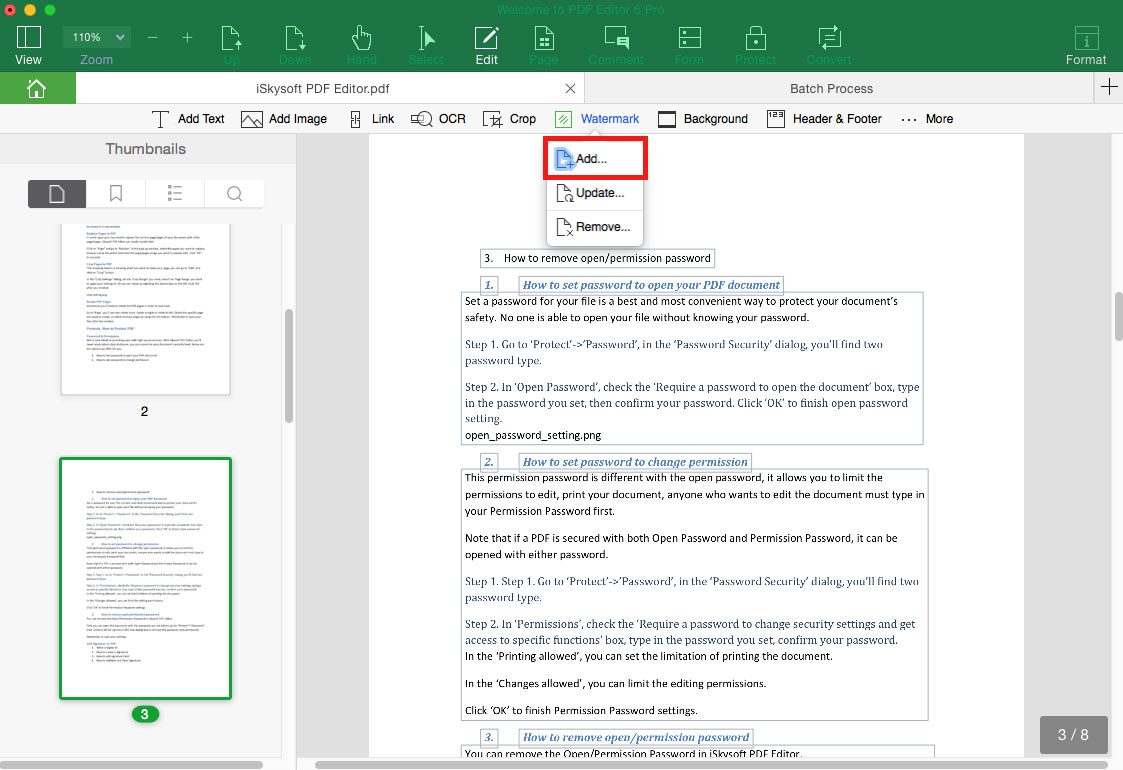
Add Text Watermark to PDF: In the "Add Watermark" panel, set the source as "Text", and input the texts you want. And you can customize the text font, color and size for the watermark.
Add Image Watermark to PDF: Select the "Image" option, you can choose an image from your local folder as the watermark.
Add PDF Watermark: Set the source as "PDF", and select the page number to add a PDF watermark to your file.
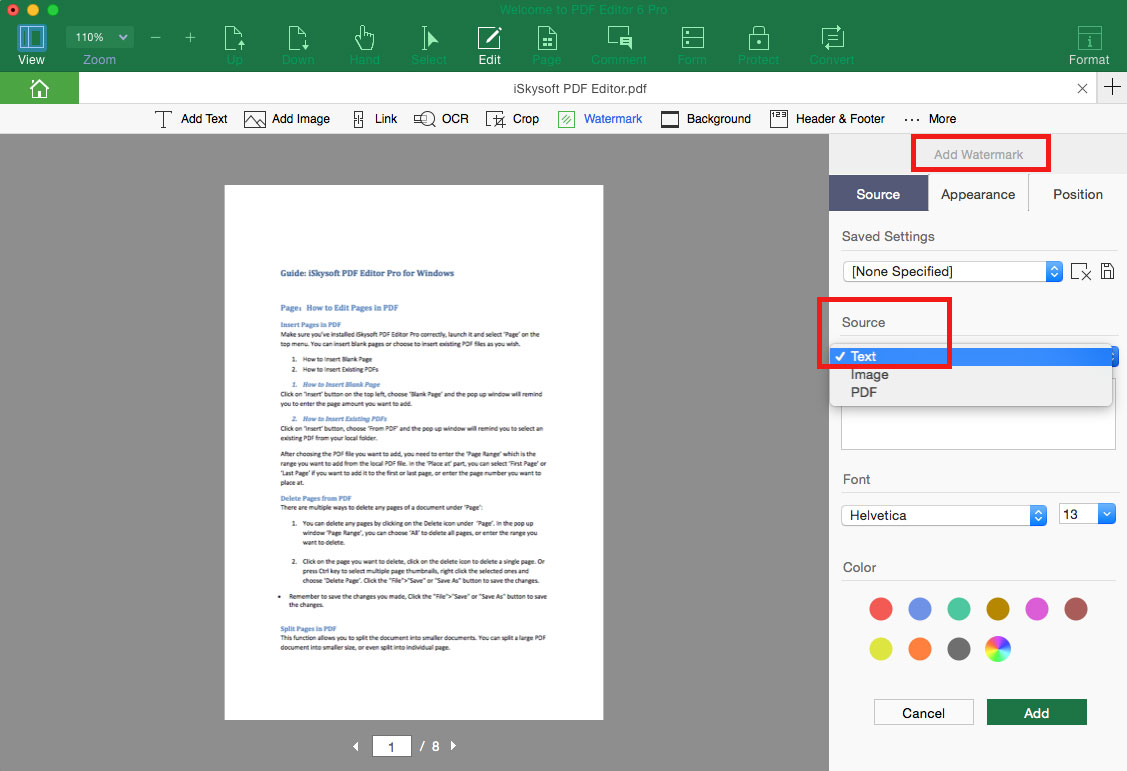
When you confirm the watermark, you can click the "Appearance" tab to set the location, opacity, location and more.
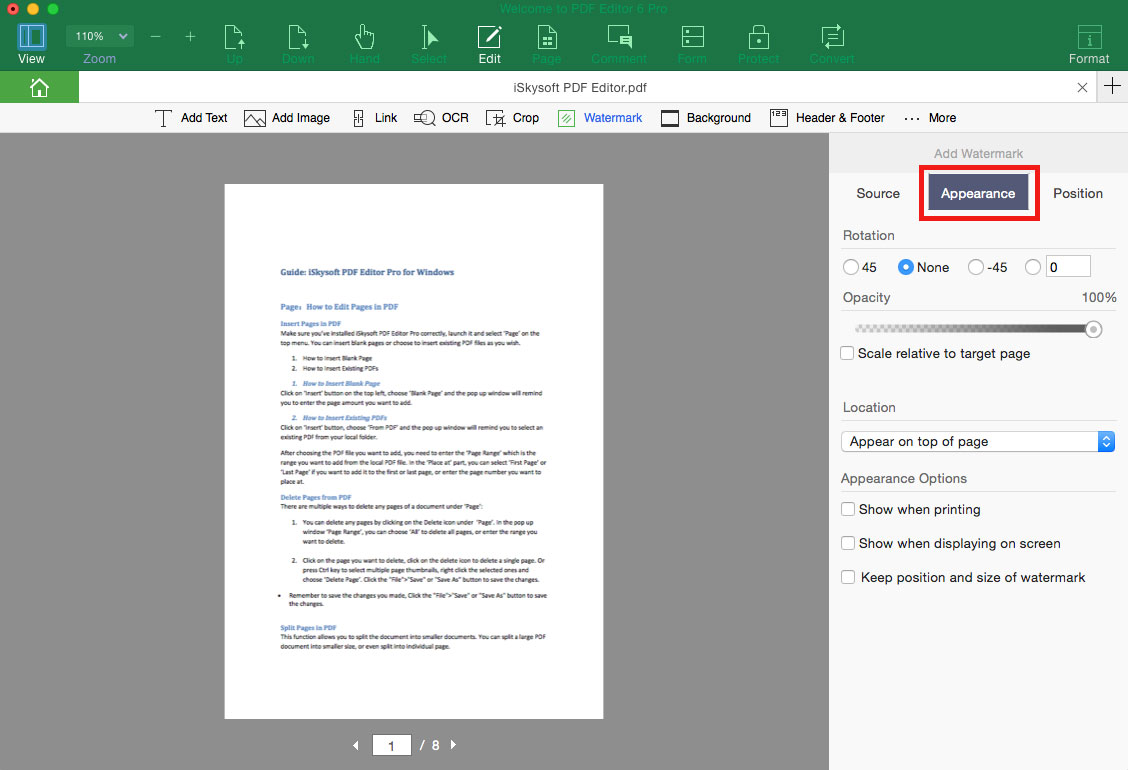
And then go to the "Position" tab to set the watermark position on your PDF file.
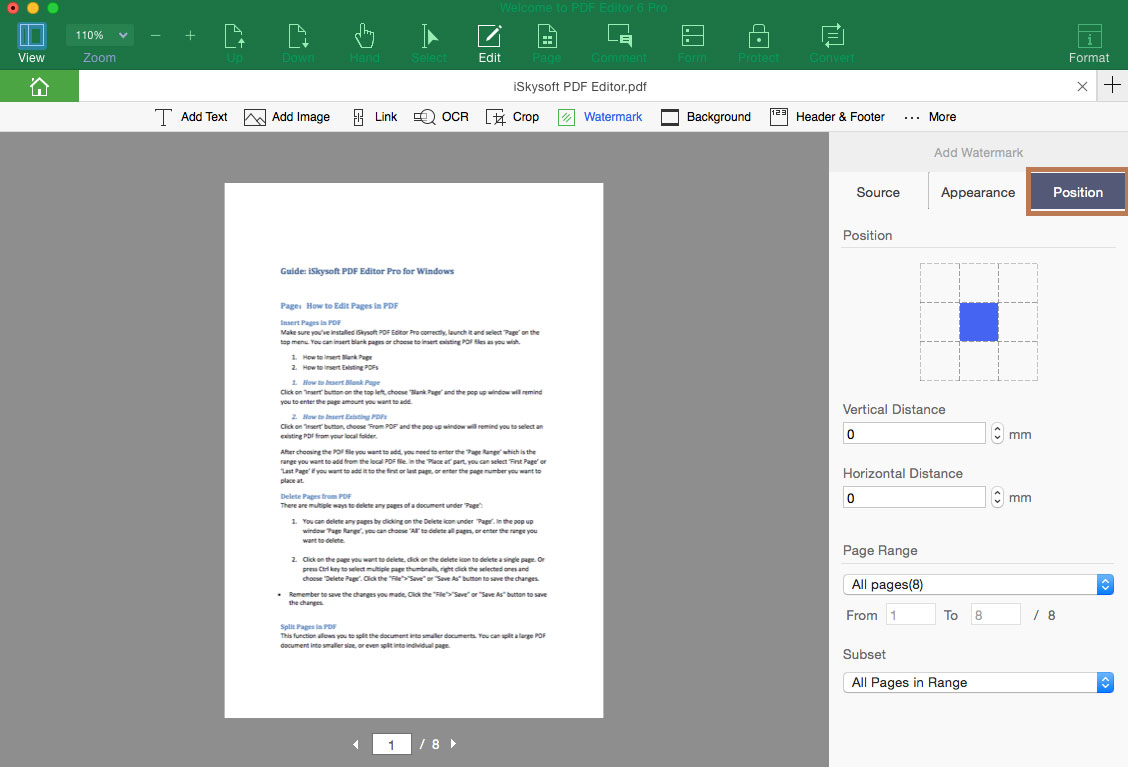
When you have confirmed all the settings, preview the watermark on your PDF and click on the "Add" button to apply the watermark.
2Remove Watermark from PDF
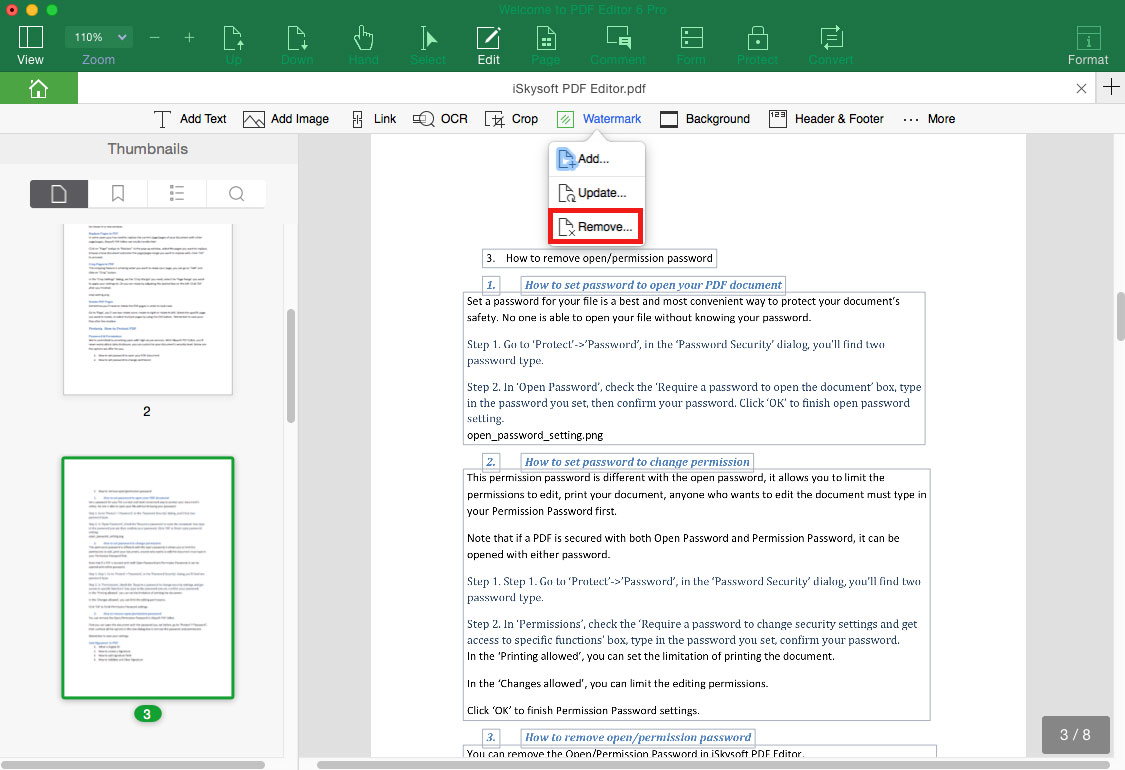
To remove PDF watermarks, click on the "Watermark" under the "Edit" menu and select the "Remove" option. And you will get a pop-up window asking you whether to remove the watermark. Just click "Yes" to remove the watermark.
3Batch Add/Remove Watermark from PDF
iSkysoft PDF Editor 6 Professional for Mac allows you to add and remove watermarks from multiple PDF files.
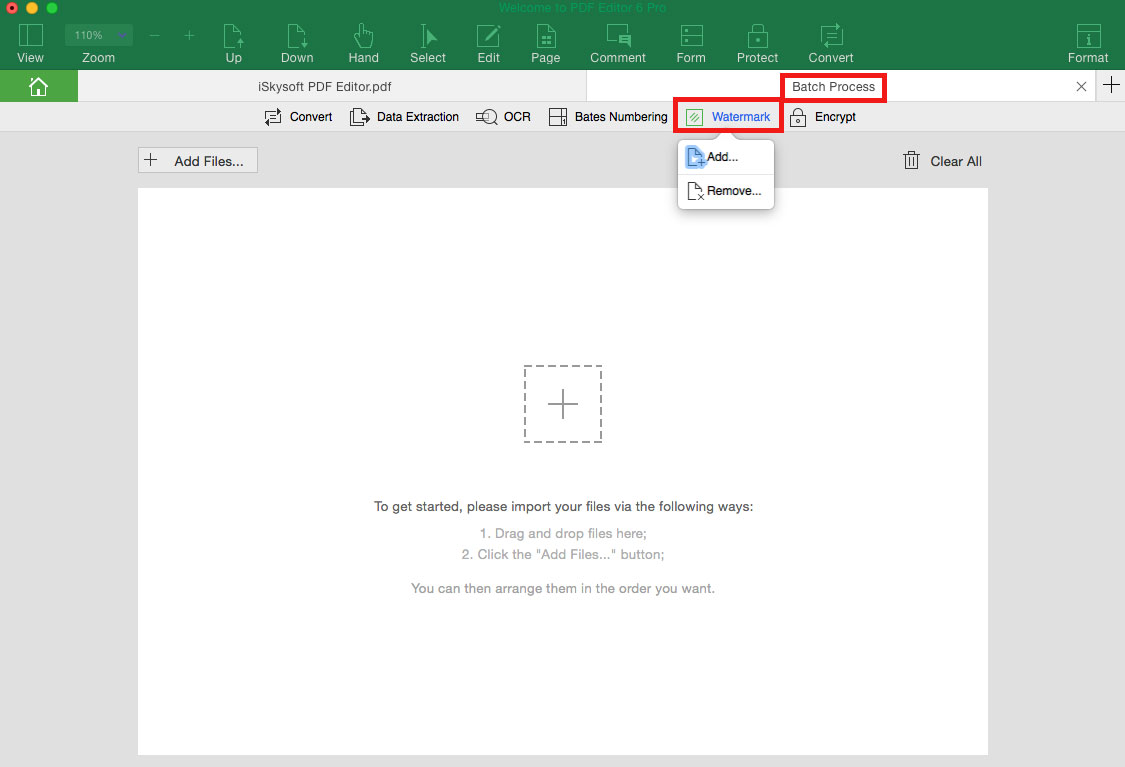
In the Homepage of the program, click on the "Batch Process" tab, and click the "Watermark" button and select the "Add" or "Remove" option. And then click on the "Add Files…" to import the PDF files. And you can continue to use above same steps to add and remove watermark in PDF.
4Update Watermark
In the "Edit" tab, click on the "Watermark" button and select the "Update" option to update the watermark source, position and more.
